How To Enable VTX For Intel Haxm in Android Studio
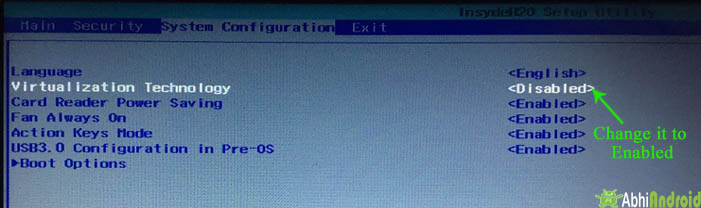
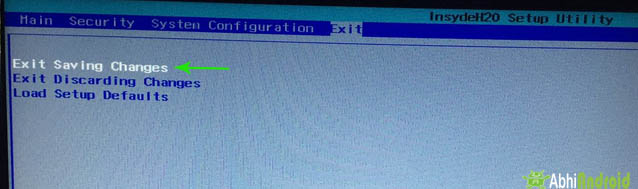
How to Enable VTX For Intel Haxm in Android Studio:
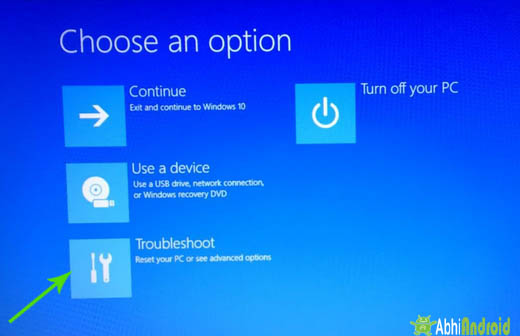
Step 1: Firstly, Open Settings on your Computer screen as shown in figure below.


Premium Project Source Code:
- Food Ordering Android App Project Source Code
- Ecommerce Store Android App Project Source Code
- Convert Website Into Android App Project Source Code
- Quiz Game Android App Project Source Code
- Radio Streaming Android App Source Code
- City Guide Android App Project Source Code
- QR Barcode Android App Project Source Code