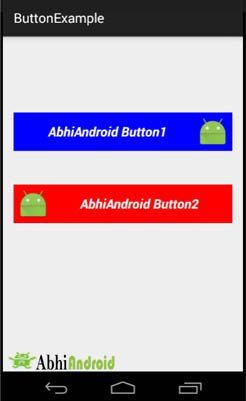
How To Run/Test Android App In Real Device
Running Android App for testing in real device is faster then running in AVD. Also this can be one of the way you can use to install your new Android App apk file in your real device. Here we will show you step by step how to run Android App in Real Android device for testing and running it.
How To Run/Test Android App in Real Device:
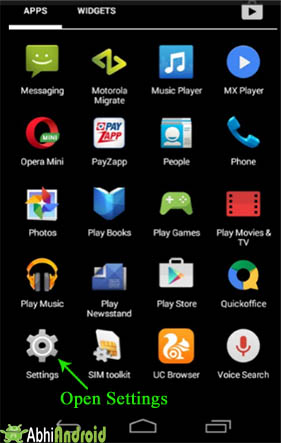
Step 1: Firstly, Go to the Settings in your real device whose device are used to run android app.
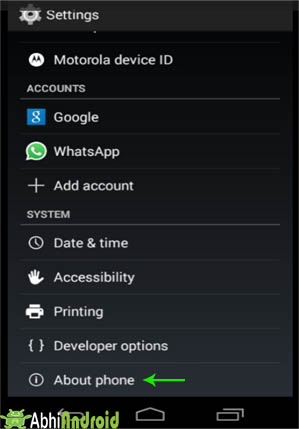
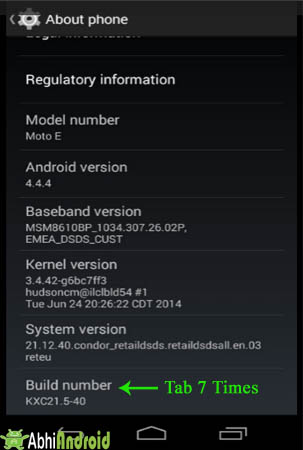
Step 5: After that go to Developer options and Enable USB debugging in your device as shown in figure below.


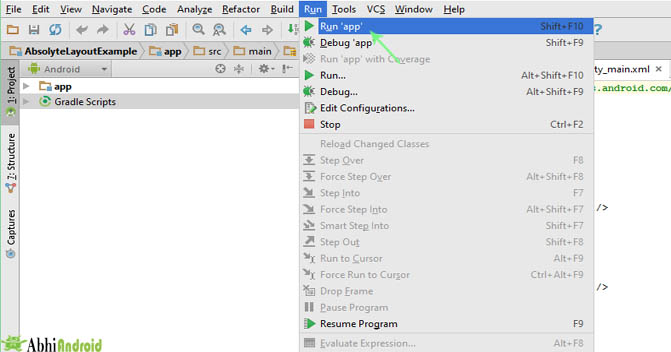
Step 7: After that Go to the menu bar and Run app as shown in figure below.
Step 9: If real device is connected to your system then it will show Online. Now click on your Mobile phone device and you App will be run in real device.
Important Note: If not working make sure you have installed your phone drivers in your system. For Ex. install Motorola USB drivers from web for Motorola device.

Premium Project Source Code:
- Food Ordering Android App Project Source Code
- Ecommerce Store Android App Project Source Code
- Convert Website Into Android App Project Source Code
- Quiz Game Android App Project Source Code
- Radio Streaming Android App Source Code
- City Guide Android App Project Source Code
- QR Barcode Android App Project Source Code