Haven’t you publish any Android App on Play store? Don’t worry if you haven’t because it’s very easy and this tutorial is going to teach step by step how to publish your first Android App on Play store.
How To Publish Android App On PlayStore:
Follow the below steps:
Step 1: First generate signed apk of your Android App to publish it on Play Store.
Step 2: Now you will need to sign up for Google Play Console to publish and manage your Android App.

Important Note: You can signup with this link https://play.google.com/apps/publish/
Step 3: Login with your Gmail account that you want to use for publishing App on Play Store.

Step 4: Now there are 4 steps to complete the registration for Google play store console. You have already completed two.
Step 5: After reading the Google play store developer distribution agreement agree to their terms by clicking on check box
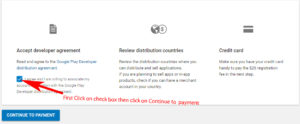
Step 6: Now you will need to pay one time ‘Developer Registration Fee’ of $25 to Google. Please fill your credit card details to make the payment.
Important Note: You can upload unlimited number of Android App on Play store from single account with a limit of uploading 15 apk/day.

Step 7: Complete your account details for Google developer account. For example see the below image:

Step 8: Now click on Create Application

Step 9: Enter the name of your App.

Step 10: Now fill store listing details of your App which include Title, Short description, and Full description.

Step 11: After this you need to put some App screenshots here. The minimum required are 2 screenshots and maximum limit is 8.

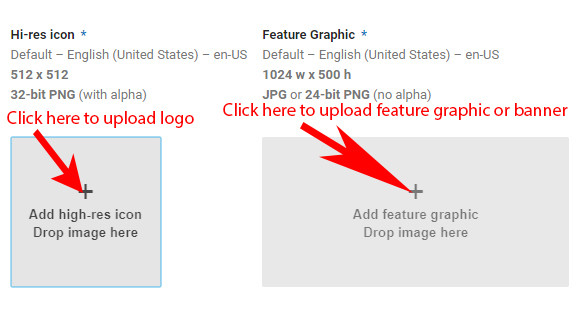
Step 12: After screenshot now you need to put a high Resolution icon or logo with a size of 512 * 512 pixel. This will be displayed on Play Store.
After that another mandatory thing is you need to put a feature graphic of 1024 * 500 pixel dimension. See below image for more detail.
Step 13: Now scroll down and fill other details which include application type, category, website, email and phone no.
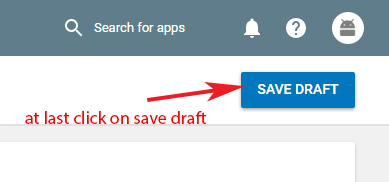
After this check privacy policy because now we are not submitting and then click on save draft. If your App require user permission then it is mandatory to put privacy url.
Click on Save Draft to save your work so far.

Step 14: After saving data on draft now go to app release and click on manage production.

Step 15: Now you will see create release now click on it.

Step 16: After click on create release you will see browse files click on it and upload your signed APK.

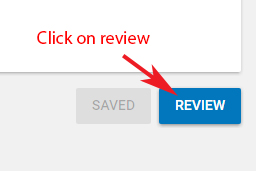
Step 17: Once the upload is successful then scroll down and click on review to check.

Step 18: Now go to Content Rating and click on continue.

Step 19: Fill details which include email address and select your categories.

Step 20: Now select Violence, Sexuality, Language, Controlled Substance and Miscellaneous based on your App. First click on save questionnaire for save and then click on calculate rating.

Step 21: Now click on apply rating.

Step 22: Click on pricing and distribution and select free/paid based on how you want user to access your App.

Step 23: Now scroll down and see mandatory things with * you need to select After this click on save draft .
Step 24: Now Click on ready on publish along with save draft and click on Manage release.
Step 25: Click on Manage Production.

Step 26: After Manage production click on edit release.

Step 27: Now click on review.
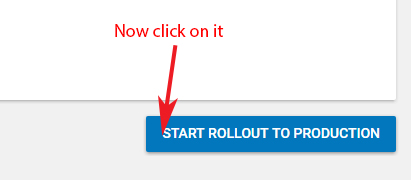
Step 28: After review click on Start Rollout to production. Now you need to confirm. After confirm you will need to wait for one or six hour for approval.
After making any kind of application, with the help of Android Studio, there is an option, to launch the application with the help of GOOGLE play store, you have to drag and drop the application, with the play store launcher. And it will be published after getting permission from the moderator, and if it is not launching, you can publish it with the help of ms outlook support
Thanks a lot for the effort
A nice read.