Images are used in android application to add-on more user friendly behavior & functionality. A image can be added in drawable folder with multiple methods being explained step by step.
Adding Image To Drawable Folder In Android Studio
Easier steps are to followed up for adding a image in drawable folder.
Step 1- In this you need to follow this path to reach the desired folder.
app-> res -> drawable
 Step 2-
Further you need to right click on the drawable folder and click on File_Path.
 Step 3- A drop-down list appears there click on drawable folder.

Step 4- Clicking on drawable open a window which containing the images used in your android application. Here you can easily add-on or remove the images.
Other way to add images is:
Step 1- Firstly follow path to reach the folder as explained above
app-> res -> drawable
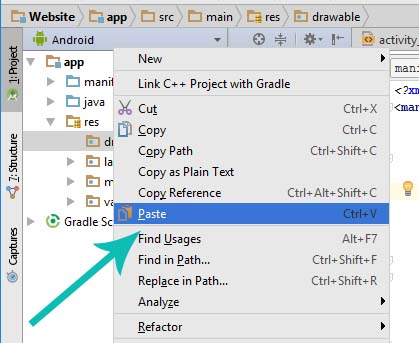
Step 2- Copy the images you want to add and right click on drawable folder. Further click on paste, your images are inserted in the folder & use them as per requirement.
thank you so much, I did it and it worked (: